Rain is a natural occurrence, and while it can be soothing and refreshing, it can also reveal vulnerabilities in our homes.
One of the most alarming signs of a problem is a leaking roof during rainfall.
But don’t panic.
You can manage and eventually solve this problem with expert advice and some proactive steps.
Below are authoritative steps and insights on addressing roof leaks during rain, backed by scientific consensus and industry best practices.
Immediate Response: Contain the Leak
Protect Your Interiors
Move furniture and electronics away from the dripping area. Place a bucket or container beneath the leak to prevent further damage. This is crucial to avoid damage to your flooring and belongings.
Use Plastic or Tarpaulin
In situations with high water volume, hanging plastic sheets or tarpaulin might be helpful to guide the water into buckets. It’s a temporary solution, but it can be a lifesaver.
Wellington Boots & Medical Gloves
While you might be tempted to touch the water or the source of the leak, ensure you’re wearing Wellington boots and medical gloves for safety reasons.
Avoid Electrical Hazards
Always turn off the electricity in the affected area to avoid electrical accidents. Safety first!
DIY Repair Leak

Roof leaks can be a nuisance, but homeowners can attempt some DIY techniques before calling in the professionals.
With the right tools, materials, and safety precautions, you might be able to address minor leaks on your own.
Let’s delve deeper into the process.
Identifying the Source of the Leak
The first step in any DIY repair is identifying where the problem originates. Often, the spot where you notice water dripping inside is not directly below the leak on the roof.
Water can travel along rafters or can be diverted by obstacles before it drips down. Start in the attic or the highest point in your home and look for wet spots or water stains.
Once identified, mark the spot to make it easier when you head onto the roof.
Safety First
Before you begin any roof work, safety should be your primary concern. Ensure you have a sturdy ladder and the conditions outside are calm – avoid windy or rainy days.
It’s also wise to wear rubber-soled shoes for extra grip. If your roof is steep, avoiding DIY and consulting with a professional might be best.
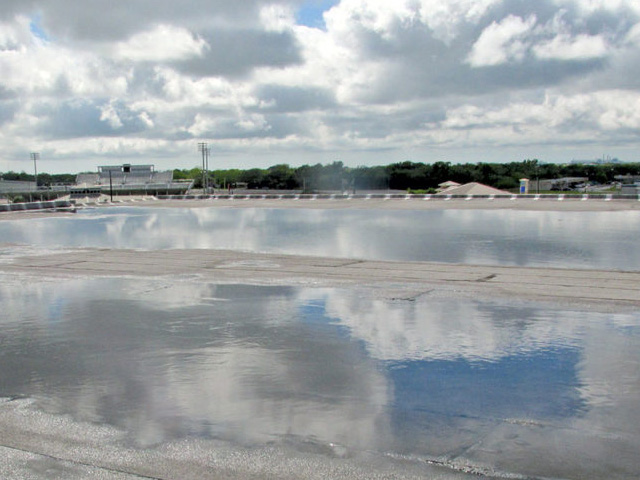
Clearing Debris
Roofs, especially flat ones, can accumulate debris like leaves, twigs, and dirt. This debris can trap water, causing it to seep through tiny cracks or gaps.
Before you begin repairs, ensure the area is clean. This often involves brushing or washing off the debris.
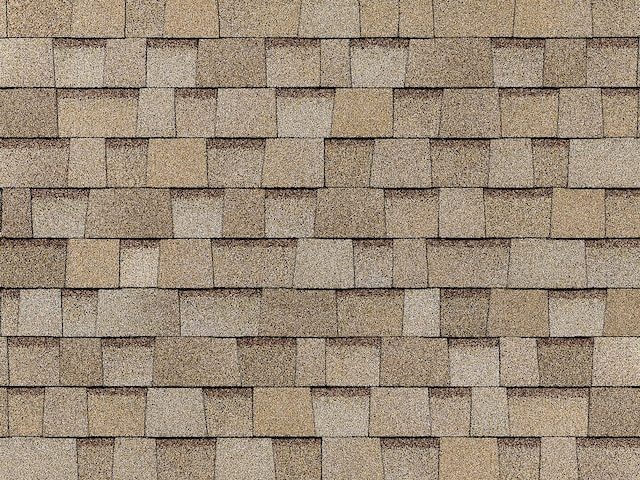
Replacing Damaged Shingles
Damaged or missing shingles are a common cause of leaks. If you’ve identified broken or curling shingles around the leak area, you must replace them.
Carefully lift the edges of the surrounding shingles and remove the nails with a pry bar.
Slide out the old shingle, replace it with a new one, and nail it down securely.
Sealing Joints and Flashing
Over time, the sealant around roof joints, vents, and flashing can deteriorate.
If you identify gaps or cracks in these areas, you’ll need to reseal them. Using a caulking gun, apply a generous roofing sealant to close gaps and ensure a watertight seal.
Final Checks
After you’ve completed the repairs, it’s essential to check your work. The easiest way is to simulate rain conditions – have someone use a hose to pour water on the repaired area while you check inside for any leaks
2. Determine the Leak Source
Inspect the Attic
If you can access your attic, use a flashlight to check for water sources. Look out for damp beams, wet insulation, or pooled water.
Check for External Factors
Often, leaks aren’t due to internal damage but rather external factors. Blocked rain gutters or debris buildup can redirect rainwater under your roof shingles, causing leaks.
Examine Roof Tiles and shingles.
Inspect your roof for missing or damaged tiles and shingles during dry periods. They are often the culprits of roof leaks during rain.
Consider Other Sources
Not all leaks come from the roof. Inspecting chimneys, flashing, and other roof penetrations for potential vulnerabilities is also essential.
Professional Assessment and Repair

Contact Experts
Roofing isn’t a DIY job for everyone. Contact a professional roofing contractor to assess the damage and recommend repairs.
Use Quality Sealants
A quality sealant can be a quick fix where small gaps or cracks are identified. However, these are often temporary and should be used while planning more permanent solutions.
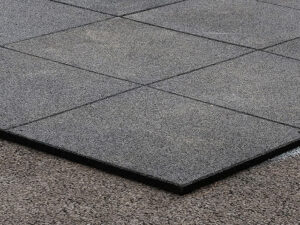
Consider Protective Coating
One preventive measure is using a roof coating. Coatings are available for asphalt shingles and even unique ones for shipping containers.
Replace Damaged Areas
In some cases, the damage might be beyond a quick fix. Damaged or old shingles, tiles, or parts of your roof might need to be replaced.
Prevention: Key to a Leak-Free Future
Regular Inspections
To avoid surprises, schedule regular roof inspections. An expert can spot potential issues before they become significant problems.
Gutter Maintenance
Clean your gutters regularly. Blocked gutters can lead to water build-up and, subsequently, leaks.
Consider Ice & Water Shields
In colder regions, ice dams can lead to leaks. To prevent this, consider installing an ice & water shield. They offer an extra layer of protection against water intrusion.
Keep an Eye on the Ridge & Chimney
Both the ridge of your roof and chimneys are common leak points. Regular inspection and maintenance can prevent issues in these areas.
Dry and Repair the Home
Dealing with a roof leak is only one part of the solution. After you’ve managed the immediate concern, the next critical step is to ensure your home is dry and any damage is repaired.
Here’s a deeper dive into this crucial process:
1. Importance of Drying
Preventing Mold Growth
Moisture trapped inside homes can lead to mold growth. Mold not only damages your property but can also have health implications, including respiratory issues and allergies.
Drying the affected areas promptly minimizes the risk of mold and mildew development.
Protecting Structural Integrity
Continued exposure to moisture can weaken building materials like wood, drywall, and insulation.
Dying these materials quickly prevents long-term damage and potential structural issues.
2. Effective Drying Techniques
Natural Ventilation
Open up windows and doors to allow a free flow of air. This can be particularly effective in areas that receive ample sunlight, as the sun’s rays can speed up drying.
Use of Fans and Dehumidifiers
Industrial fans and dehumidifiers can be placed in damp areas to speed up drying.
While fans help circulate the air and evaporate the moisture, dehumidifiers remove excessive moisture, ensuring faster drying.
Heaters
Portable heaters can be used in colder climates or during chilly times.
The heat helps evaporate the moisture faster, but one must be cautious about placing heaters near wet structures to prevent fire hazards.
3. Repairing the Damage
Inspecting the Damage
Once the area is dry, closely inspect for damage. This includes checking for discolored patches on walls, warped wood, peeling paint, or any other signs of water damage.
Replacing Damaged Materials
Some materials, once water-damaged, may not return to their original state.
Drywall, for instance, may need to be replaced if it has become too saturated.
Similarly, insulation that’s been soaked might lose its insulative properties and require replacement.
Hire Professionals
Hiring professionals specializing in water damage repair might be wise for extensive damage. They have the tools, knowledge, and expertise to restore your home to its pre-leak state.
Repaint and Retouch
After fixing structural and material damages, you might need to repaint or retouch certain areas to return them to their original appearance.

Arthur is a skilled roof worker with over 10 years of experience in the industry. He started his career as an apprentice and worked his way up to become a foreman.
When he’s not working on roofs, John enjoys with his family or writing posts. He is also a passionate cyclist.